
Pre-installation Setup
Follow the steps when:
- Prepare the Guardian device before field installation
- Check that you have received all components listed in Package Contents. Make sure there is no visible damages.
- You have a SIM card inserted into the back of the OrangePi board. Cellular Guardian only.
- Installed and logged in to the Companion app.
- Downloaded the latest Guardian software in the Companion app. See Step 1 of Updating Guardian Software.
- Downloaded the required classifiers (models) in the Companion app. Satellite/SMS Guardian only. See Step 1 of Activating a classifier.
Step 1: Assemble the satellite antenna
For a Cellular Guardian, skip to Step 2.
If you are using a Satellite Guardian, gather the satellite antenna components:
- Satellite antenna
- Aluminium arm radials (x3)
- Aluminium bracket
- Washer rings (x2) with nuts & bolts (x3)
- SMA-to-TNC cable

Attach the 3 ground plane radials to the bracket. Tighten until there is no movement between bracket and radial.

Place a washer on the SMA end of the cable.

Place the connector through the hole in the middle of the bracket. Place a washer on top.

Attach the Swarm antenna to the SMA connector. Make sure the antenna is in the center of the bracket and tighten as much as possible. There should be no movement between antenna and bracket.

Weatherproof the antenna with silicon seal if needed.

Step 2: Power on the device
Open the latch of your Guardian device. Locate the power switch at the bottom right.
Open the Guardian Grey box and turn on the Guardian, then close the box.
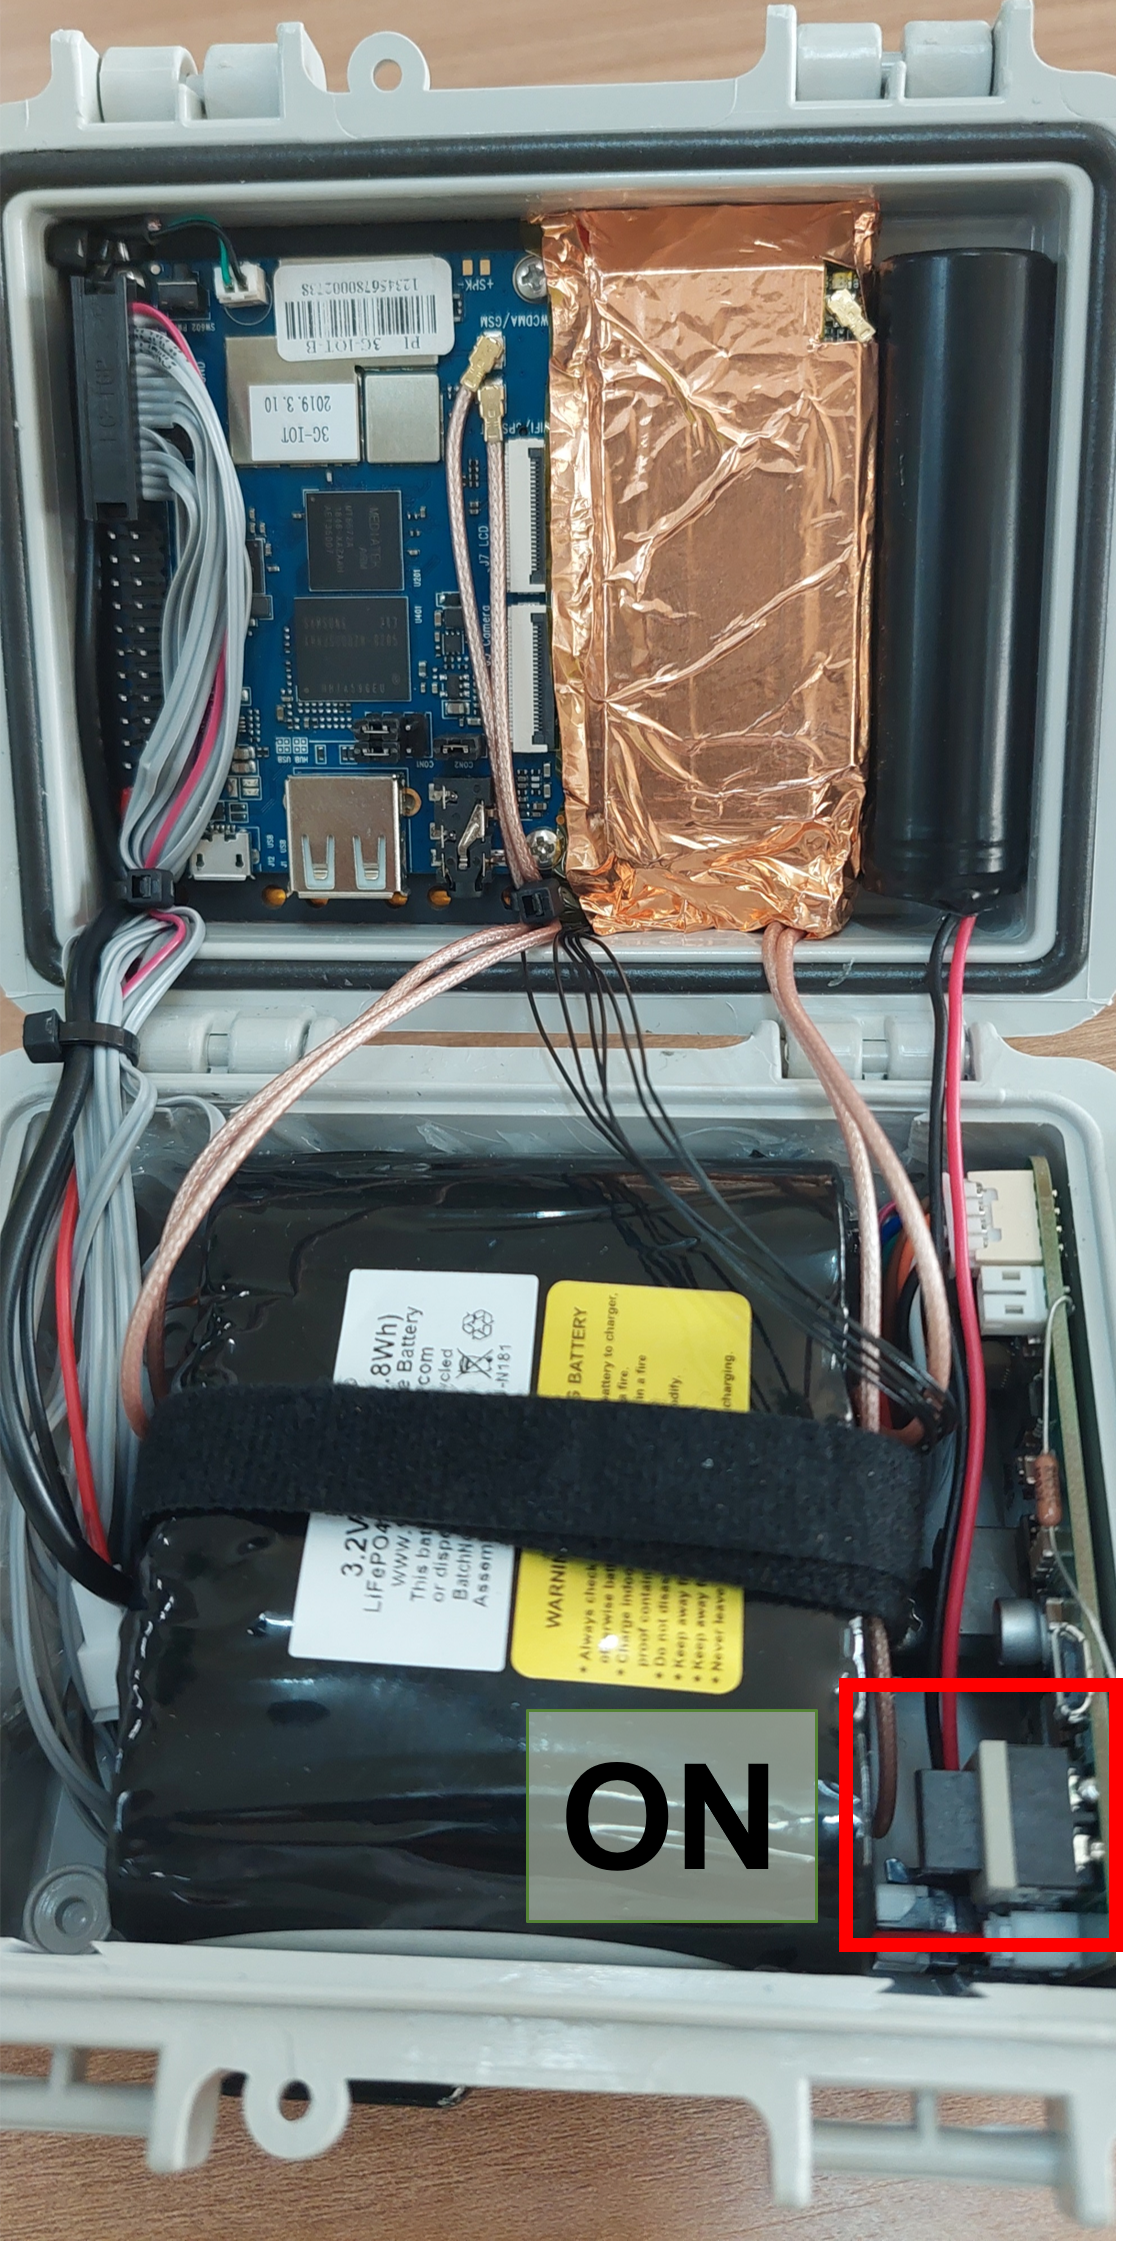
Push down to turn on. If the LEDs are on, proceed with the next step: Connect via Companion App. Lean more about the LEDs light status.
Step 3: Assemble the solar panels and frame to power the Guardian Grey box
Place the frame and the Guardian box next to each other, then secure the Guardian grey box inside the frame.
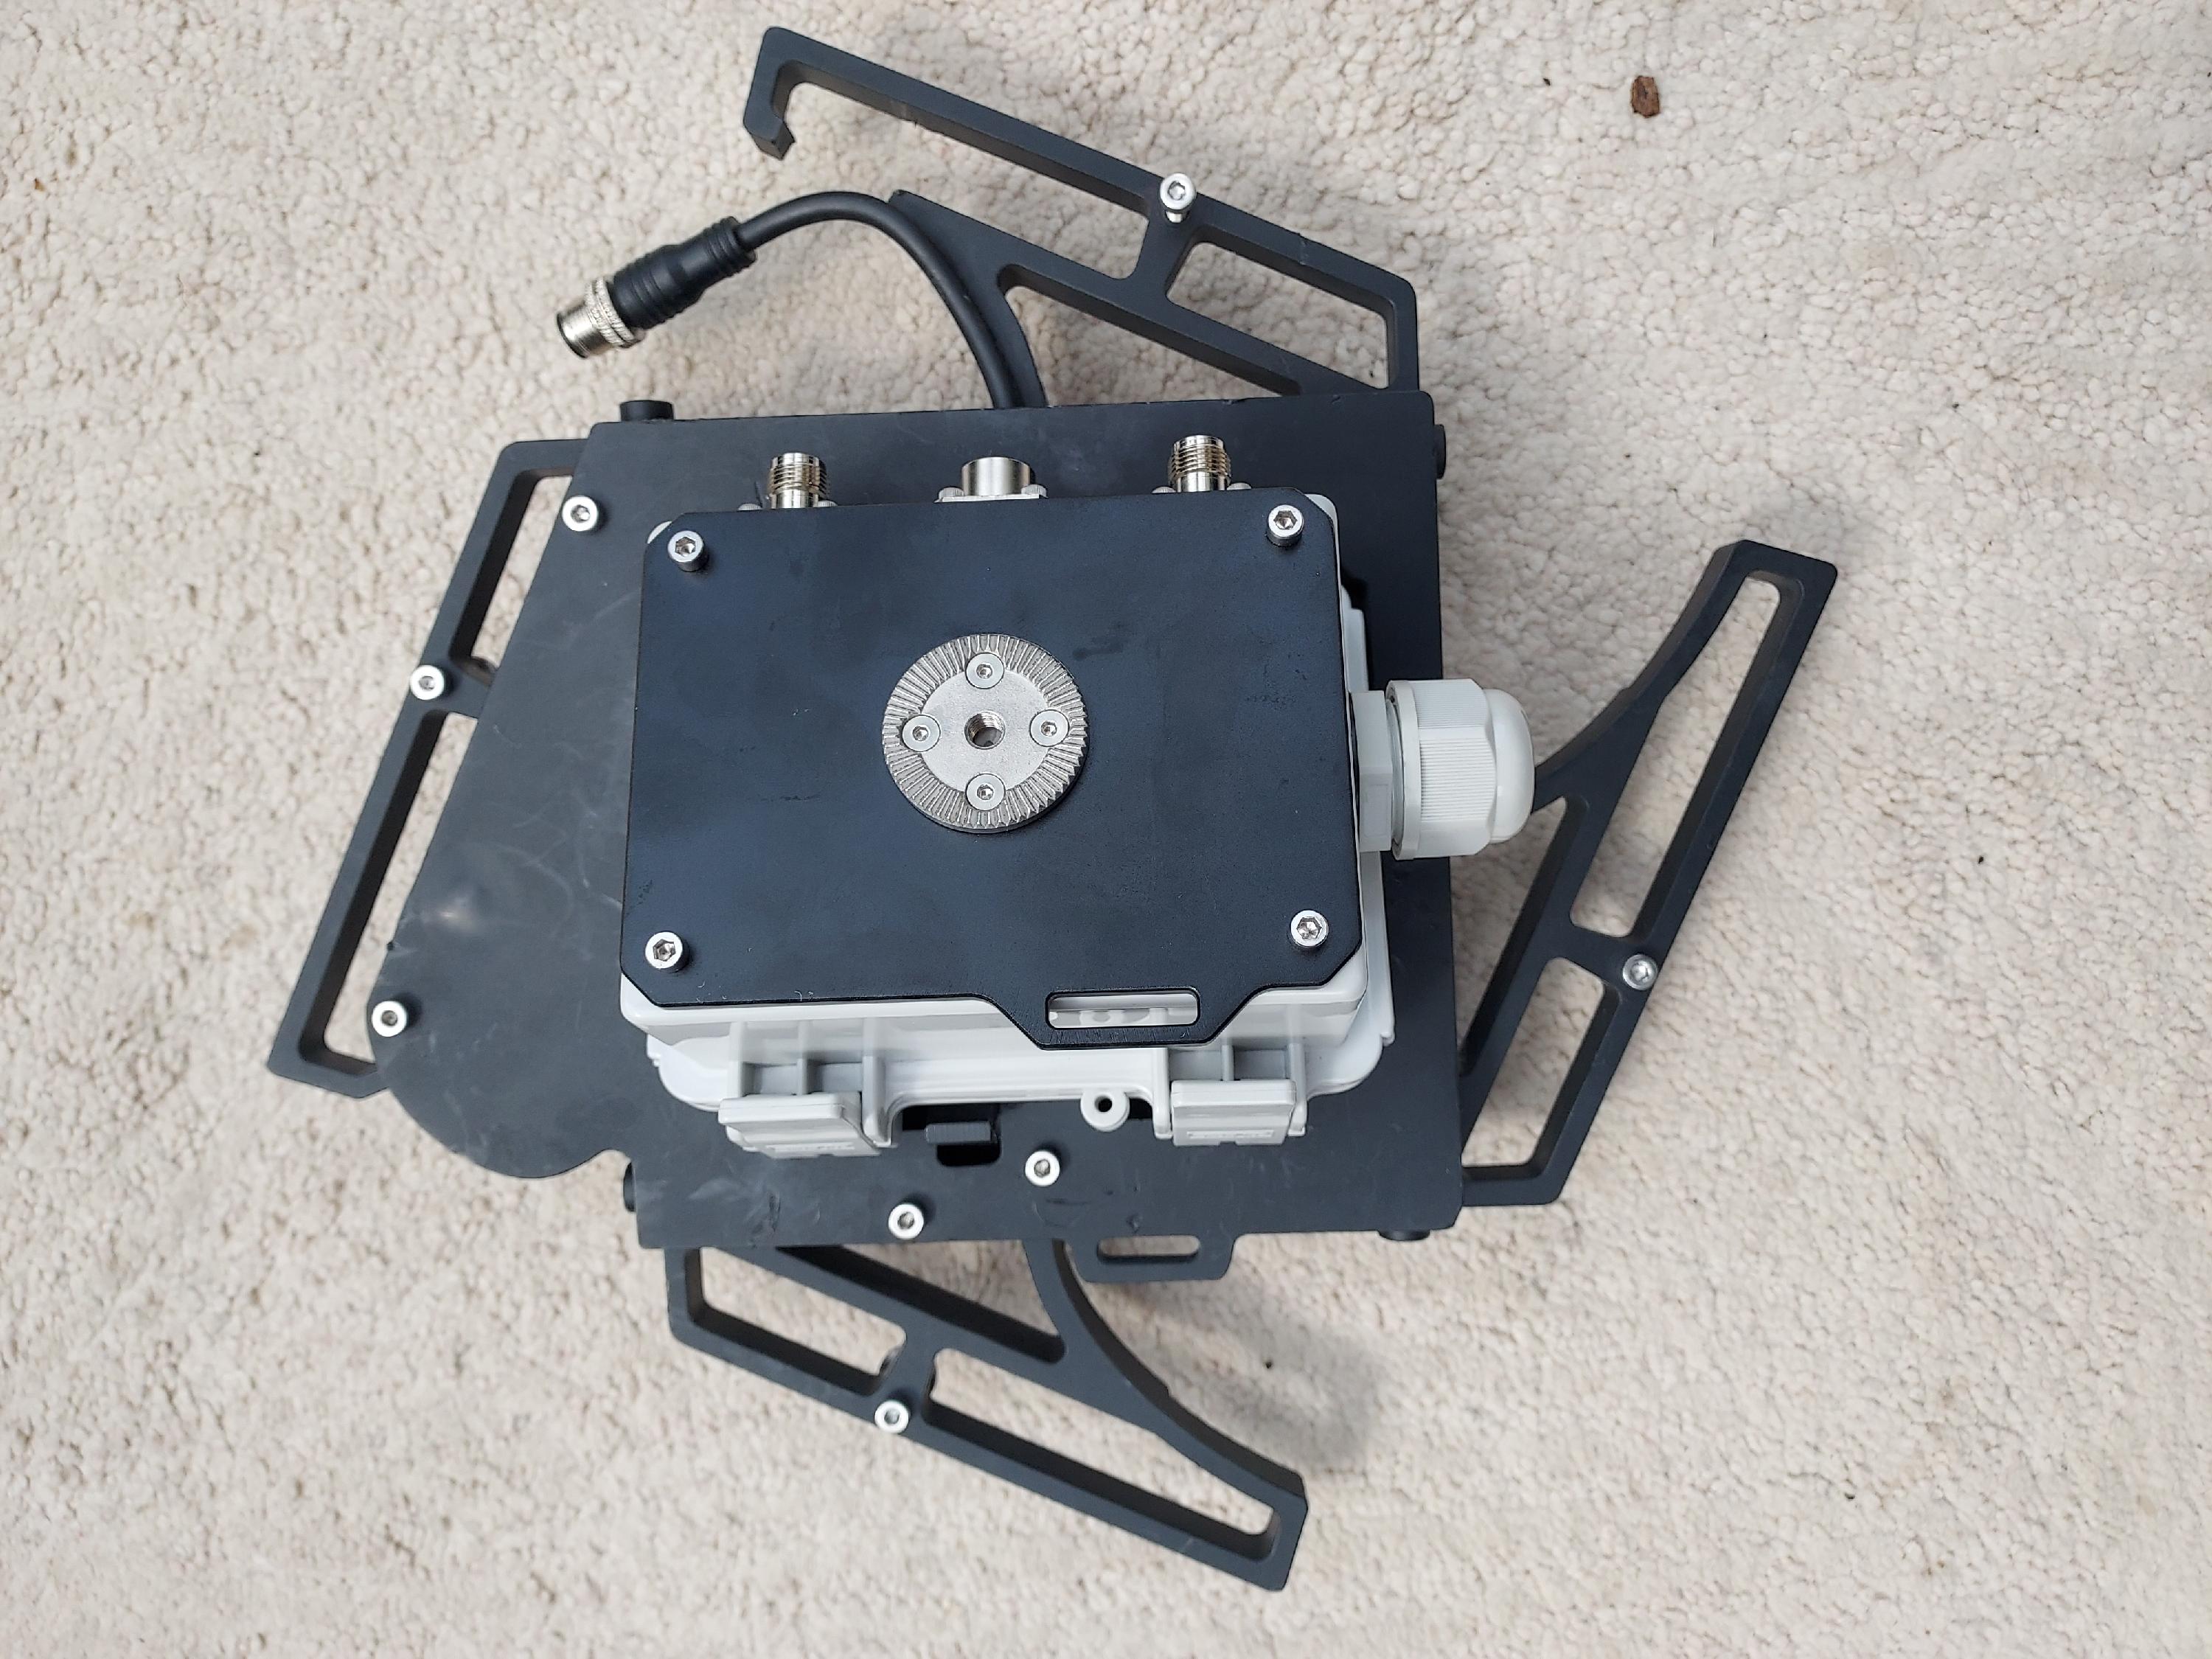
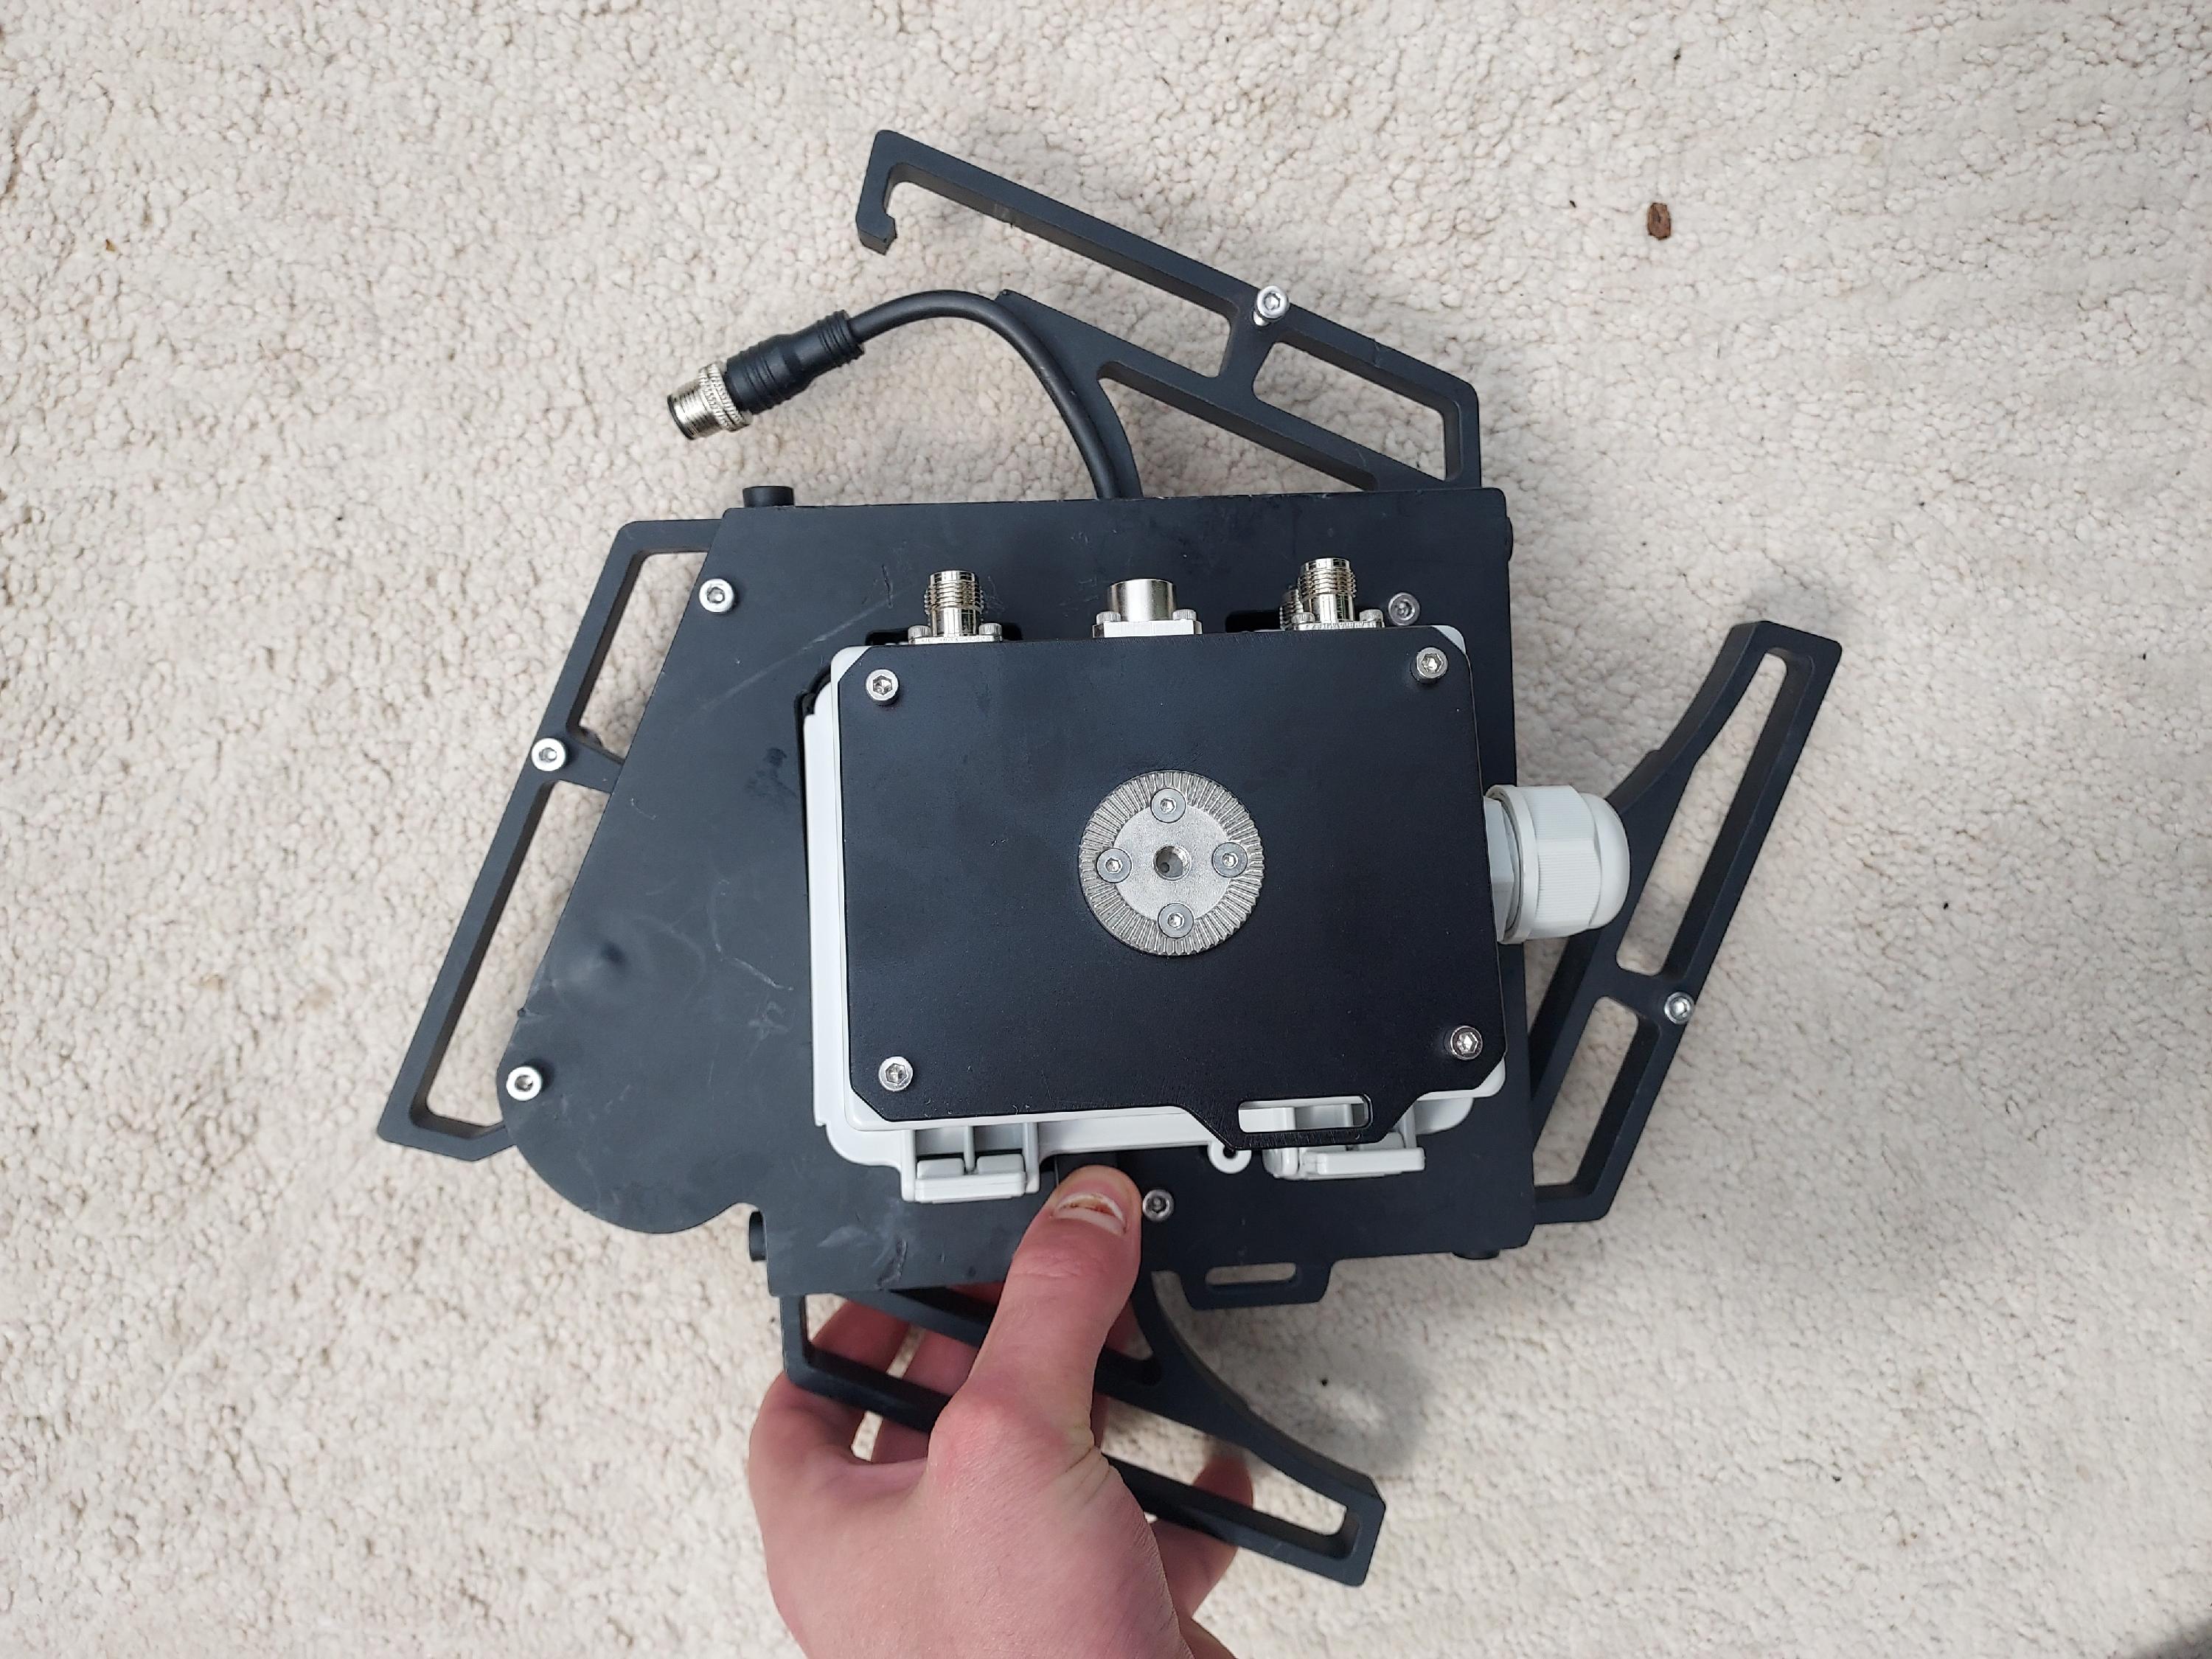
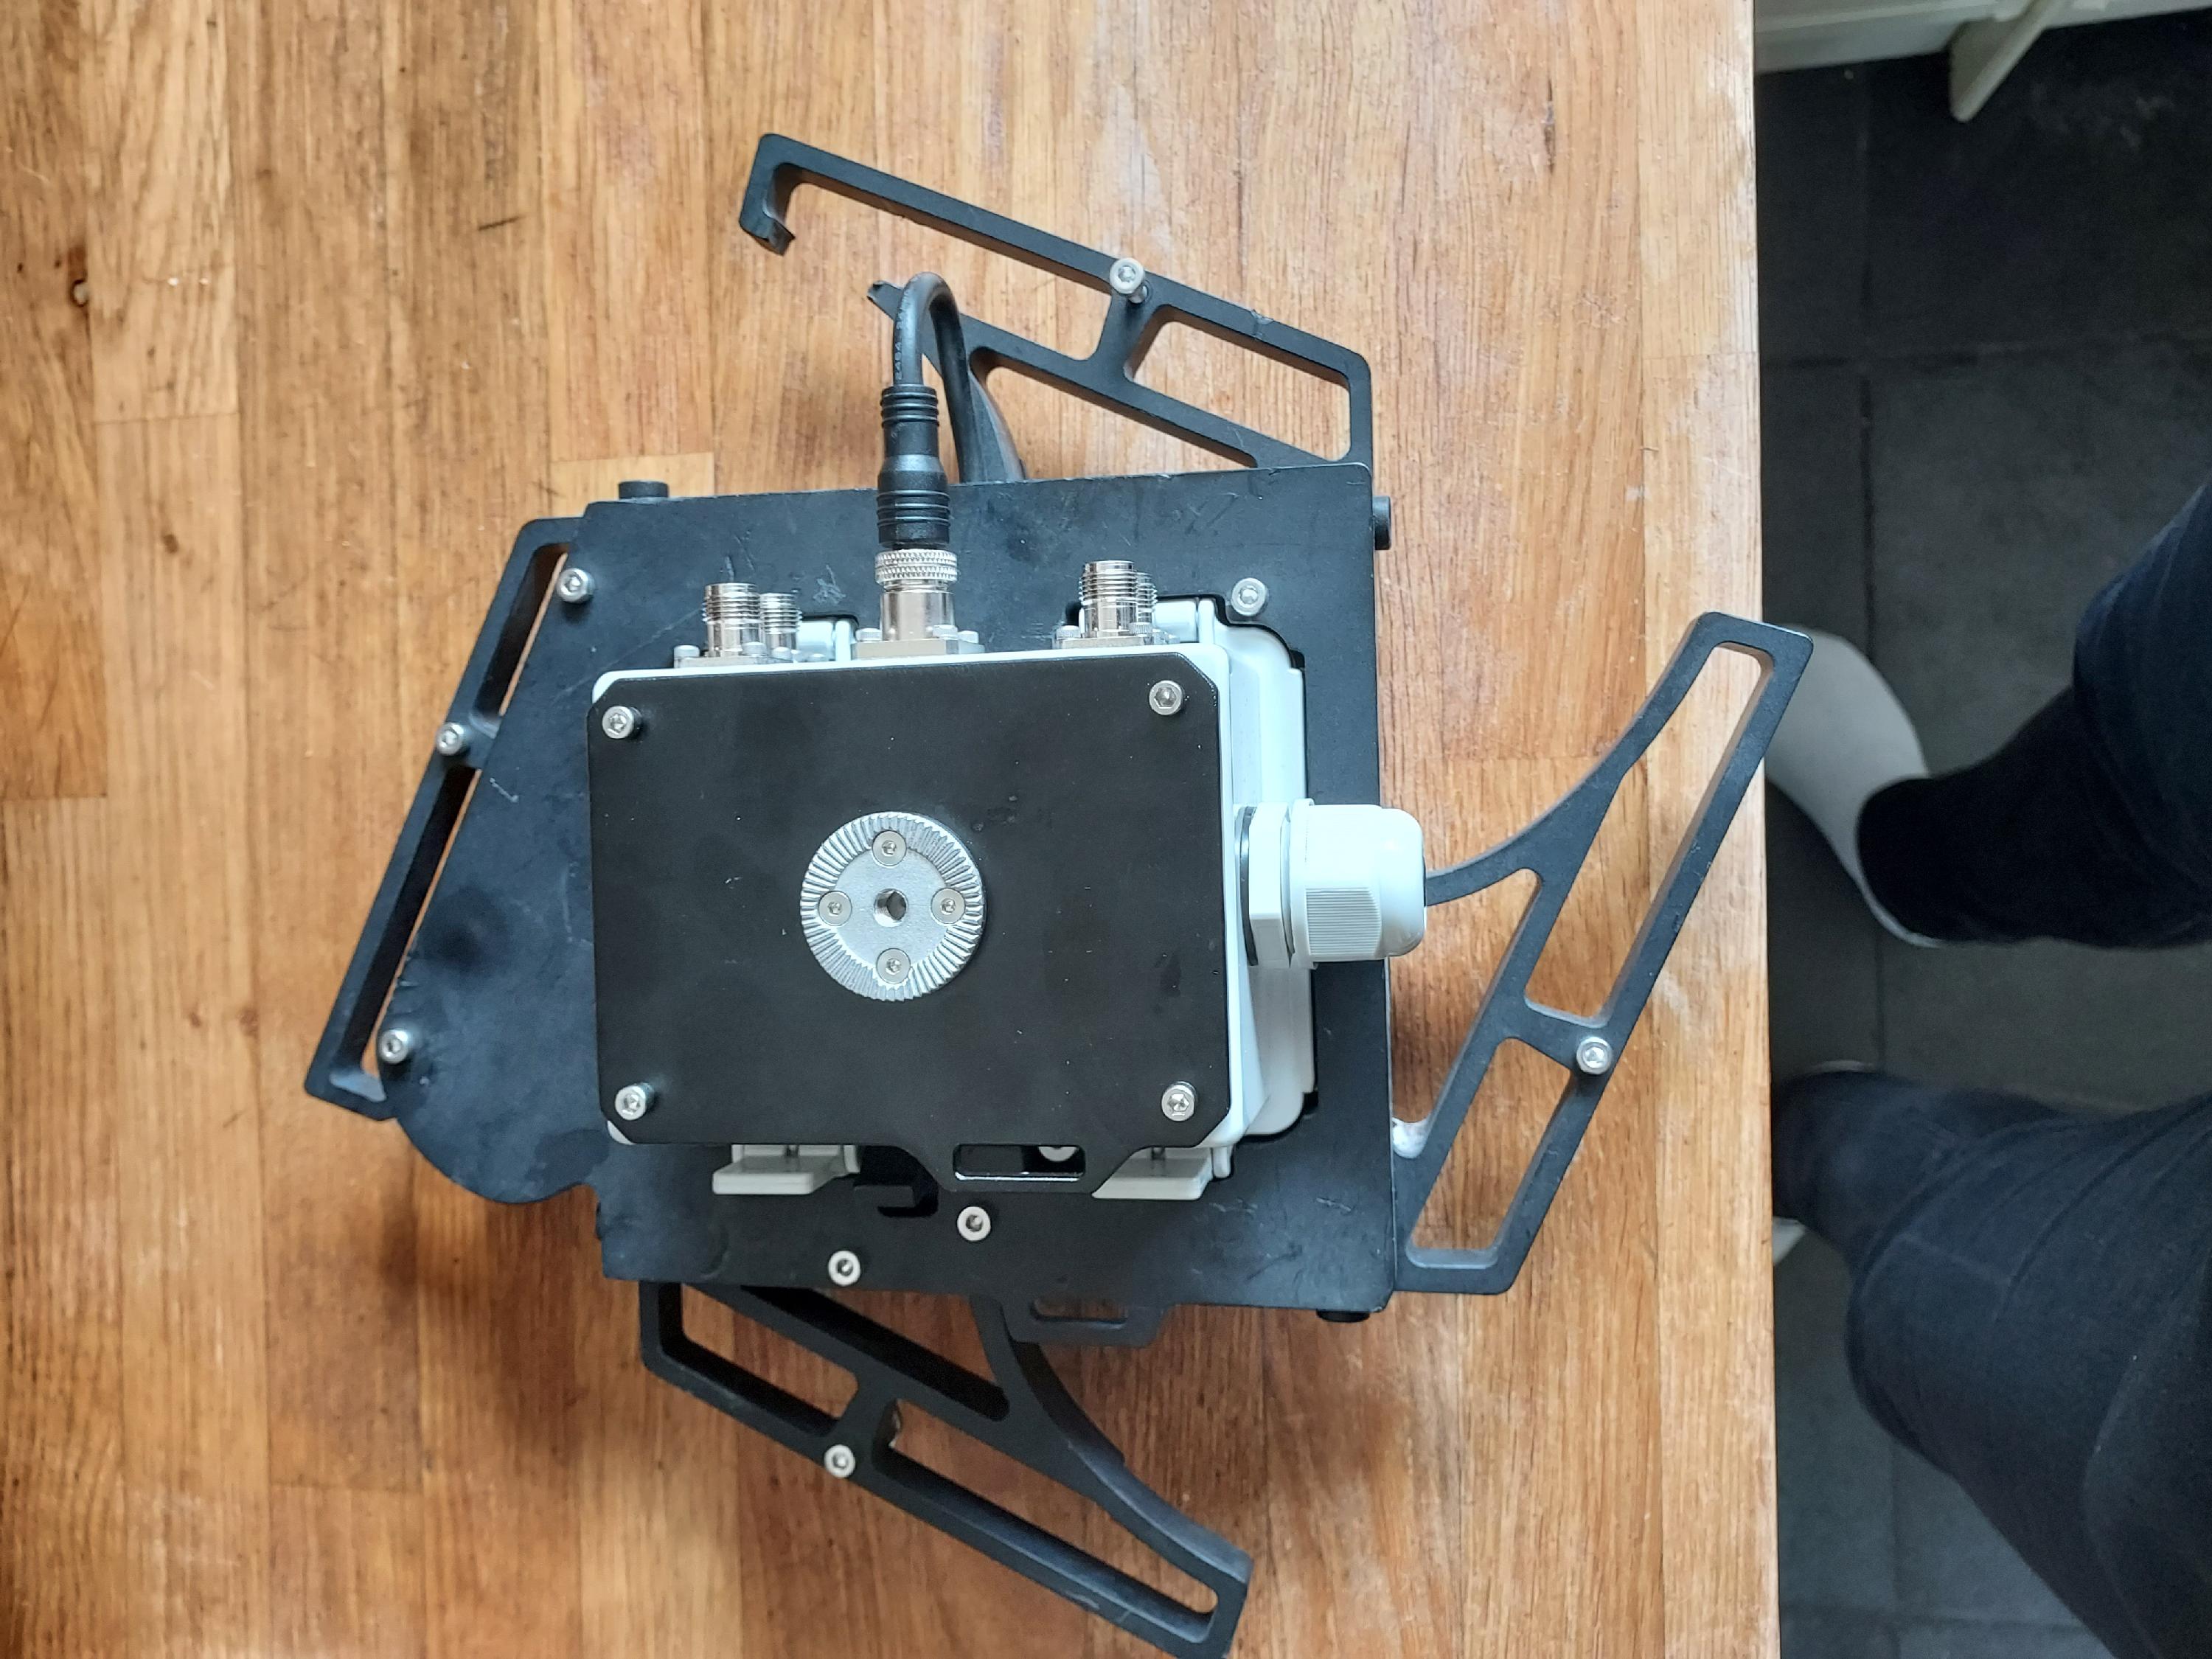
Attach all 4 solar panels to the solar panel frame with acorn nuts, in any order.

Connect the DC connector from the panel to the frame.

The plug is fully inserted when the 2nd line is not visible. A “click” will be felt when it becomes fully inserted.
Notes: The plug is designed to be a tight fit in the socket. If required, use a pair of pliers by gripping the plug (not the wire) to apply extra force to push the plug in.
Step 4: Assemble all components
Attach the antennas (GSM and WiFi for Cell Guardian; GPS, satellite, and WiFi for Satellite Guardian), microphone, and DC input power from the solar panel frame to the appropriate connectors on the Guardian device.

Do not put the Guardian device into the solar panel frame yet.
Step 5: Connect via Arbimon Companion App
Open the Arbimon Companion App on your phone. From the "Map" screen, press on the plus (+) and select "Guardian".


If Android asks for permission to connect to the device then press "Connect" again.

If you are unable to connect then go to Troubleshooting: Unable to connect.
Step 6: Update the software
From the setup checklist, select "Software Update".

When all software is up-to-date then you will see the following.


It may take 1-2 minutes to install each component. If the connection to the device is lost or it takes longer than 2 minutes to update then go back to Step 5 and repeat the process until all components are up-to-date.
Press "Next" when you are done.
Step 7: Activate a classifier
See Step 2 of Activating a classifier.
Step 8: Check battery charge
From the setup checklist, select "Power Diagnostics".

The Sentinel module manages power from the batteries and solar panels. If you don't see ✅ Sentinel module detected then your device is faulty and may need replacing.


Press "Next" to continue.
Step 9: Check communication configuration
From the setup checklist, select "Communication Configuration".

This screen checks the availability of cell/GSM or satellite hardware.

If you are using cellular (GSM) then you will either have received a device with a SIM card installed or you will have inserted your own SIM card into the back of the OrangePi board. You should see SIM card detected. [TODO: link to debugging SIM card issues]
If you are using satellite then your device will include a satellite module. In this screen you should see Satellite module detected. Place the GPS antenna outside and after 1 minute you should see Satellite GPS detected. [TODO: link to troubleshooting Satellite/GPS issues]

If either the SIM card or Satellite GPS is detected, then the device will automatically set the time, as shown by the Guardian local time. The device must have the correct before it can be successfully deployed.
Press "Next" to continue.
Step 10: Disassemble and switch off
On the Companion app, go back to the map (home screen). You do not need to complete the remaining steps and do not press "Deploy".
Disconnect the antennas and the frame. Open the box and pull the switch to up position to switch the device off. Close the box, being careful not to damage any cables.
You are ready for tree installation!